Requirement during Installation of Author and Publish instance
The system requirements for installation of the CQ5 instance are:
1. Cq5 quick start jar.
2. Valid license key.
3. JDK 1.5
4. 1 GB free hard disk drive space.
5. At least 1 GB of RAM.
Products that are included in the standard installation of CQ5 author are:
CQSE i.e., servlet engine.
CRX i.e. content repository
CQ5 WCM
Steps to install the product instance.
- Create a folder in the C: drive that will contain 3 folders. (there should be no spaces in the names, that can lead to errors)
The author folder contains CQ jar file, License key and the quickstart folder created during installation.
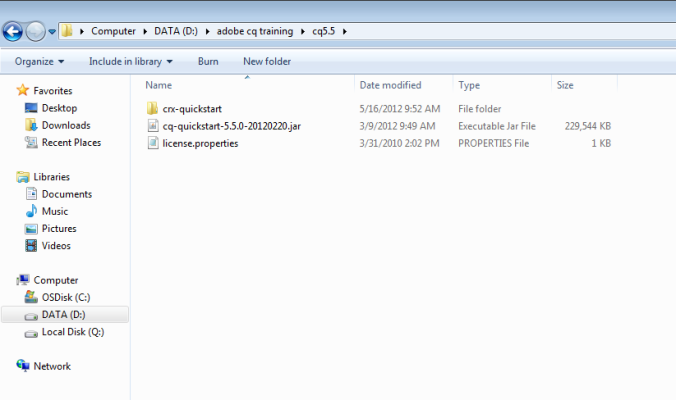
- Copy the cq jar and the license files to the author folder from a external drive.
Change the name of the jar file to cq-author-4502.jar
Where cq refers to the application, author refers to the WCM mode and 4502 refers to the port on which cq5 will run.
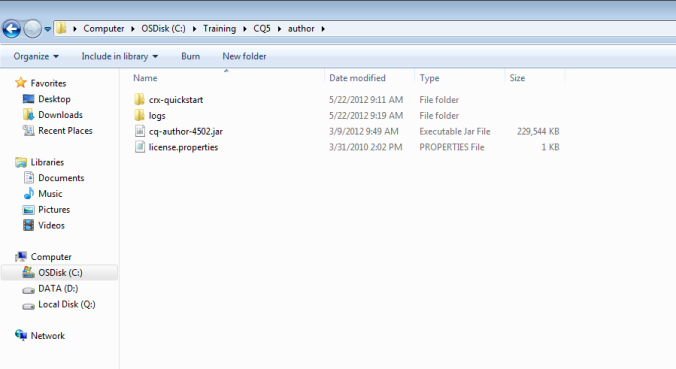
3. Copy the created author folder and paste in the same path. Rename the new folder as publish.

- Navigate to the new folder “Publish” and rename the jar file as cq-publish-4503.jar.(you can use any other free port,preferably 4503)
Steps to start the instance
1. To start the installation of the Author/publish instance, double click on the respective jar.
This will take around 5-7 minutes to start the instance.
1. To start the installation of the Author/publish instance, double click on the respective jar.
This will take around 5-7 minutes to start the instance.
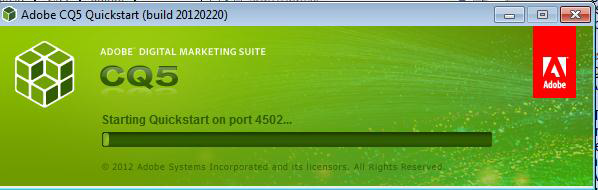
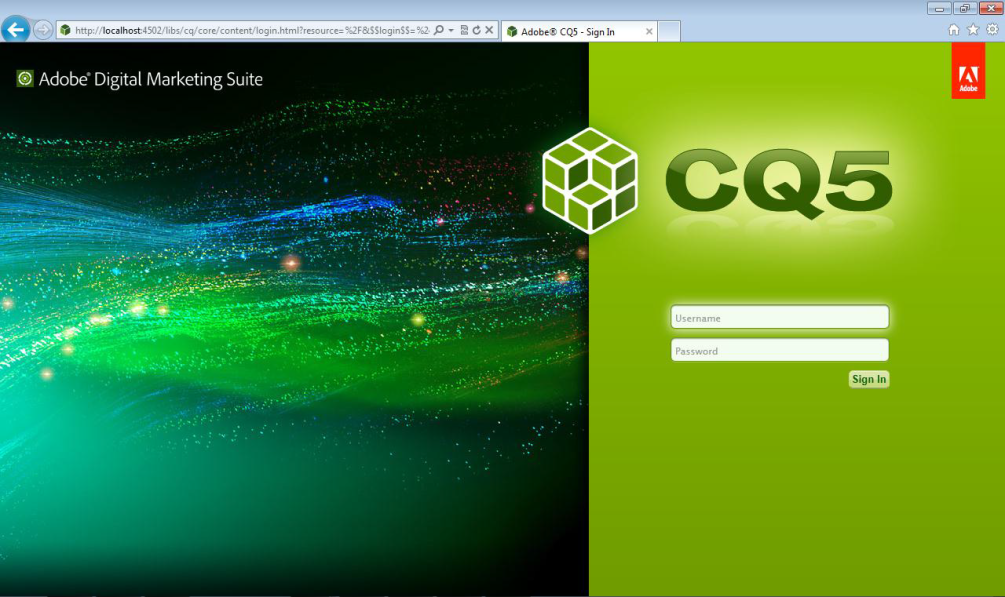
- CQ will be starting the server on a browser window. The credentials for logging into the instance are:
User Name: admin
Password: admin
URL: http://localhost:4502 for author instance and http://localhost:4503 for publish instance
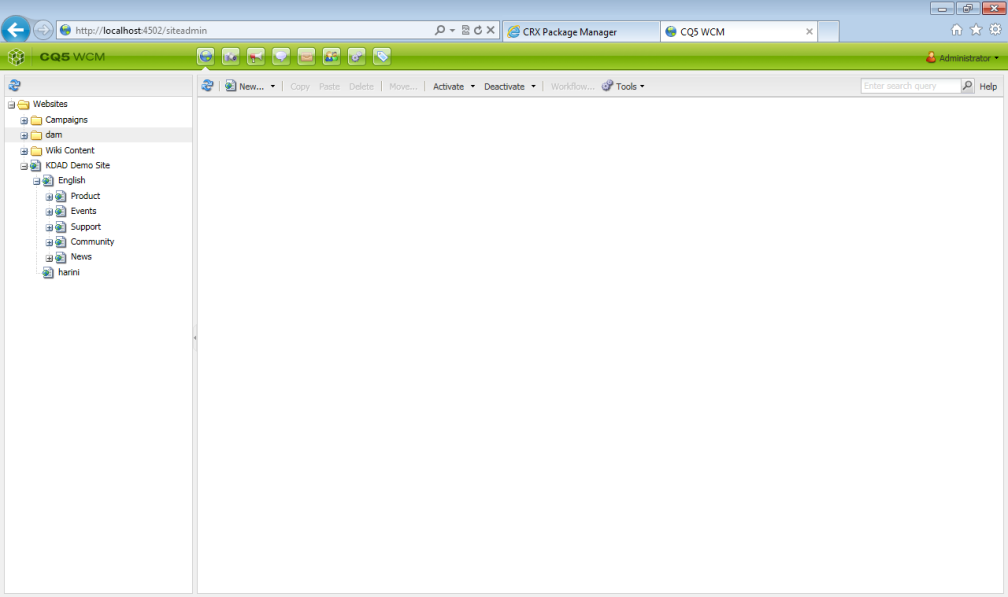
Different Admin Consoles
Open the below URL to land into the site admin
http://localhost:4502/siteadmin
Open the below URL to land into the site admin
http://localhost:4502/siteadmin
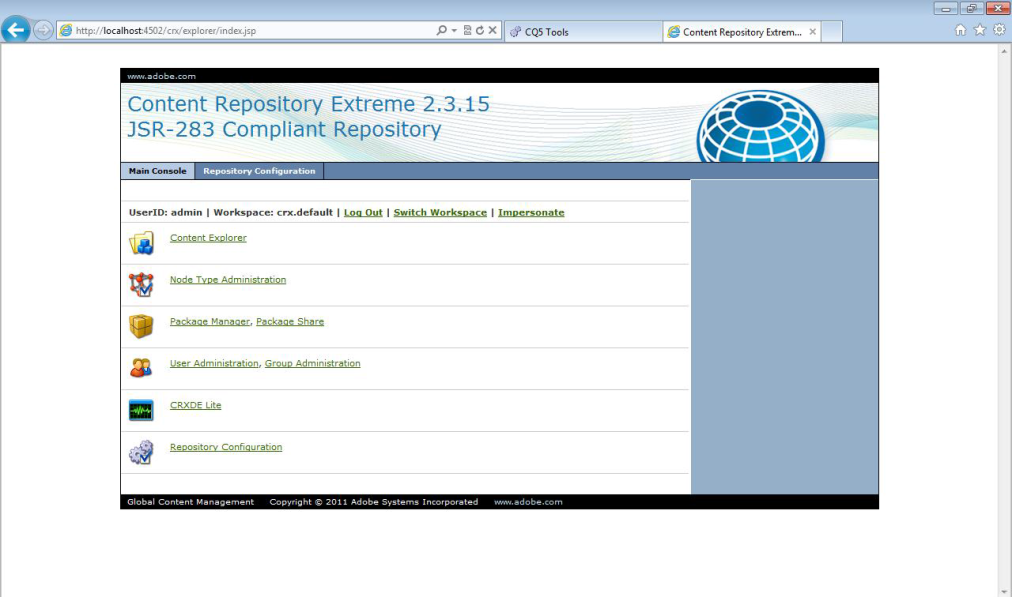
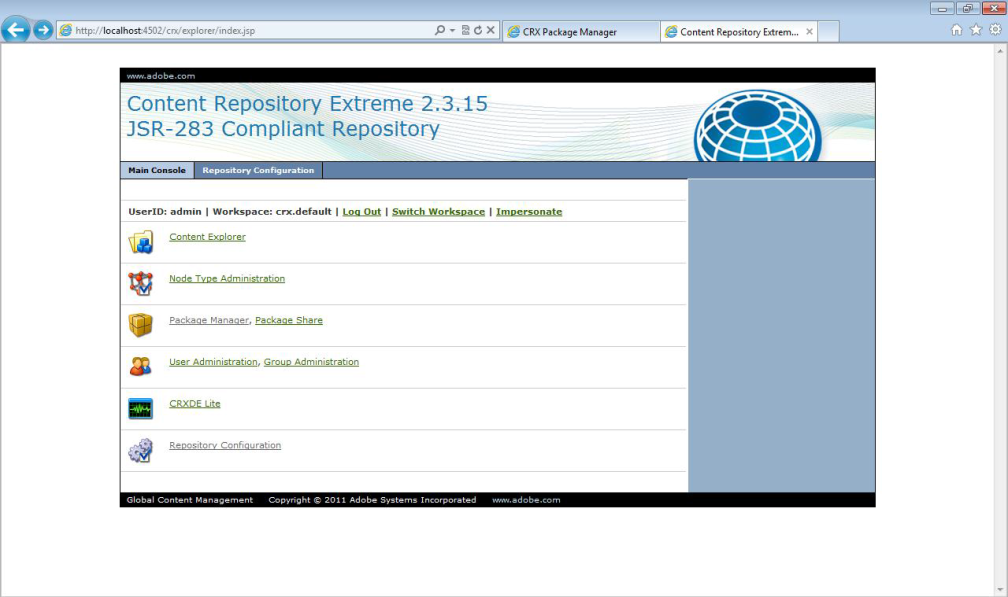
CRX
Once logged in open the below URL
http://localhost:4502/crx/explorer/index.jsp
If you are not logged in you will see “Log In” option in the below marked area instead of “logout”.
Once logged in open the below URL
http://localhost:4502/crx/explorer/index.jsp
If you are not logged in you will see “Log In” option in the below marked area instead of “logout”.
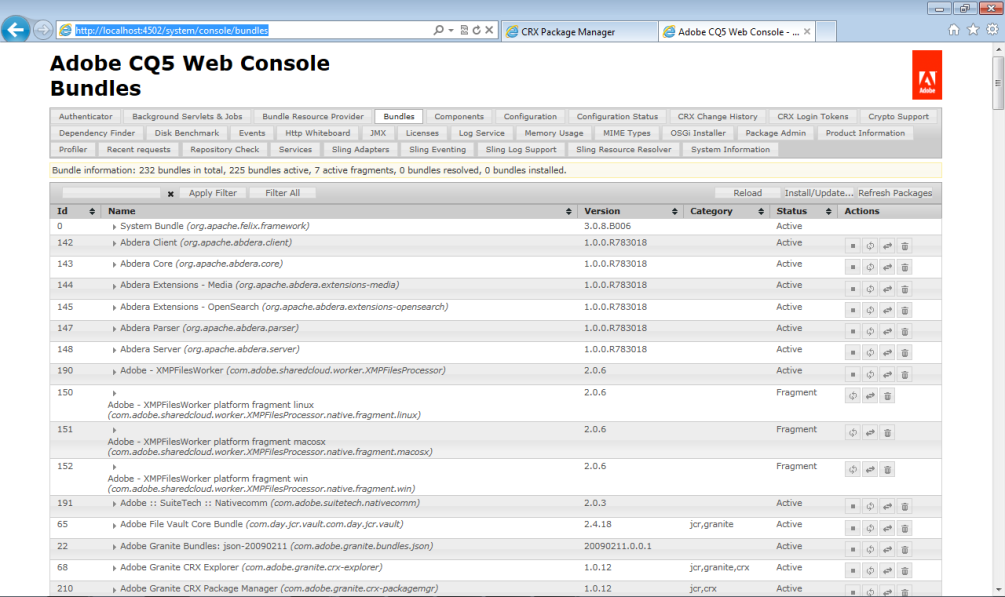
OSGI Management Console
Open the below URL to see the OSGI management console.
Open the below URL to see the OSGI management console.
CRXDE Lite
Open the below URL for CRXDE lite
Http://localhost:4502/crxde
Open the below URL for CRXDE lite
Http://localhost:4502/crxde
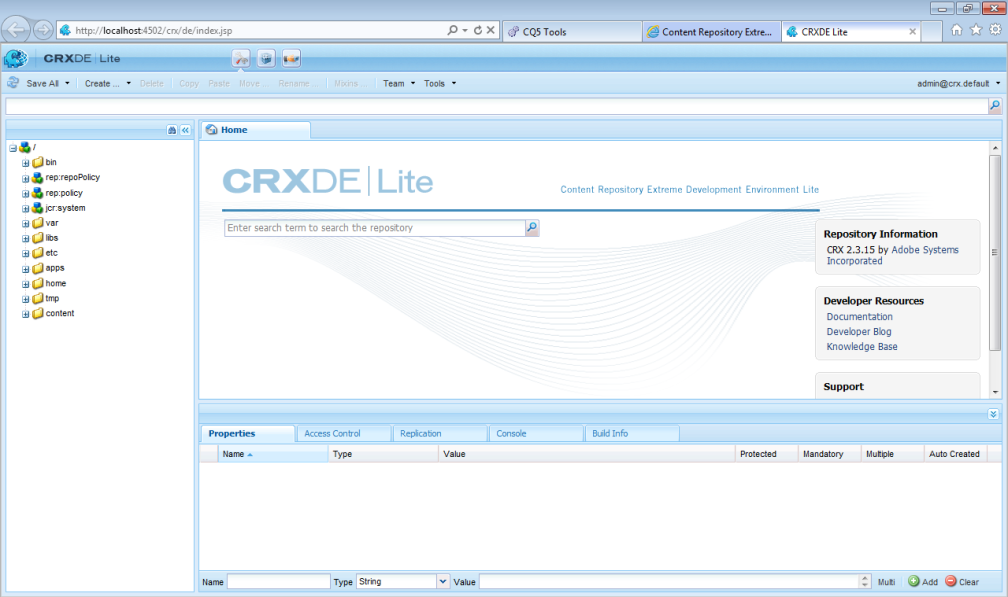
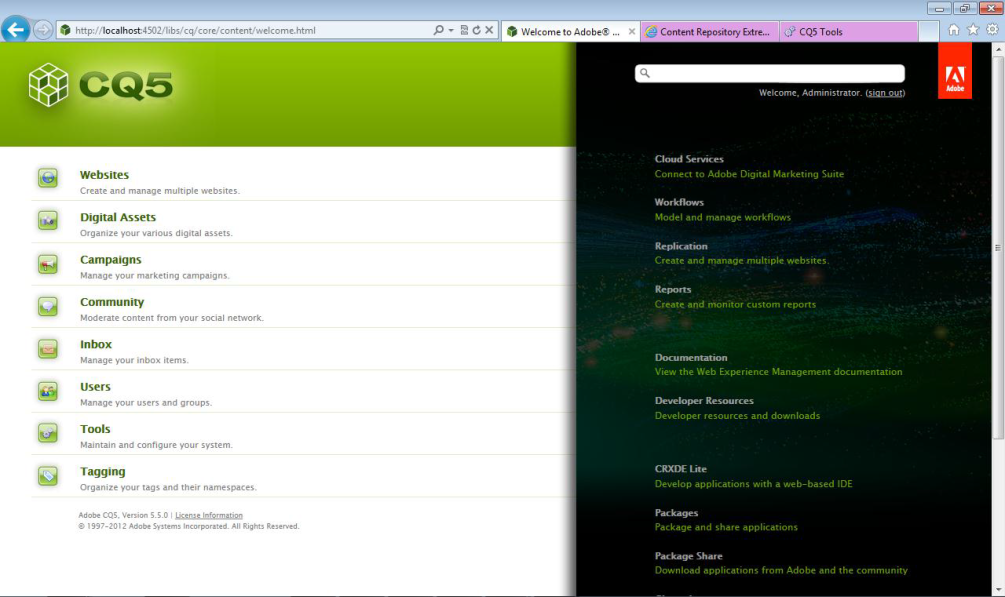
Or click on the CRXDE link from the CRX console as shown in the below screen shot.
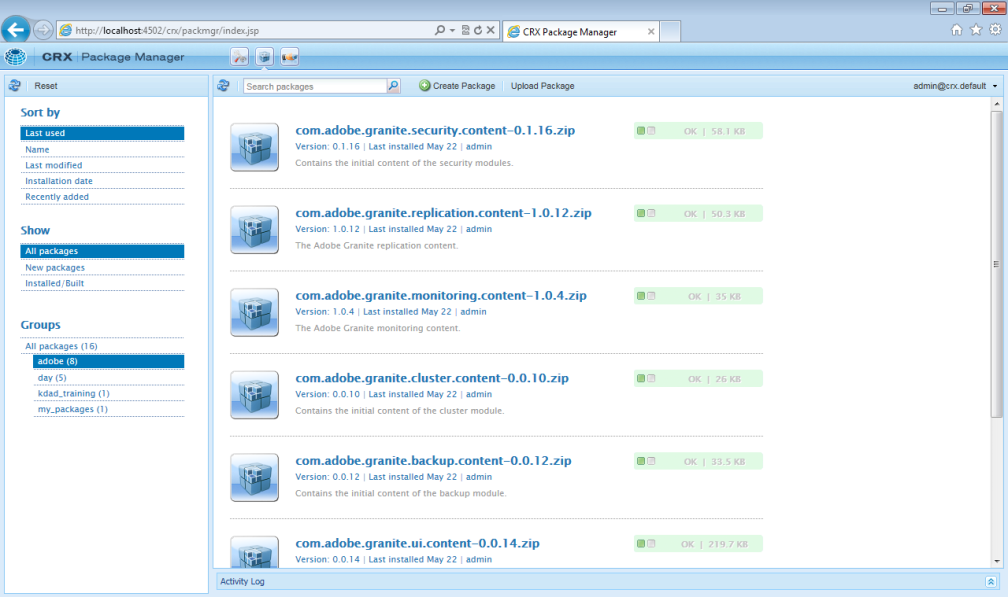
Package Manager
http://localhost:4502/crx/packmgr/index.jsp
http://localhost:4502/crx/packmgr/index.jsp
Or from the home page of CQ5 also we can come to packages.
No comments :
Post a Comment